Back to Kite Reel Survey

KMS - Kite Reel, Version 2
The Next Generation
by Karsten M. Schneymann, Germany
Click on pictures to see full size!
(New window/s will open)


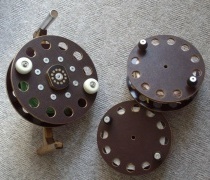
The picture to the right shows the complete kite reel system.
It consists of a double handle construction and three interchangeable reels. In the following the handle construction simply will be called  frame, because it holds everything in place.

Reels can be switched by twisting off the flat centre knob (turn counter-clockwise). Gently pull off the reel from the spindle. Choose the needed reel and set it on to the spindle while aligning the ‘interacting’ parts of reel and spindle. Then put the centre knob back in place by twisting it on the centre thread.

#1: Kite Reel Set
KMS kite reel set
Frame

The main woodwork of the frame is the same as for the single-reel system. Still there is a T- and L-handle, as is the reinforcement of the middle section. The spindle mount has been modified and the L-handle now is aluminum covered.

L-handle
When taking in kite-line the T-handle usually rests against the body. The L-handle points towards the loose end of the kite-line or towards the flying kite. Especially taking in line with a kite pulling hard more or less will make the kite-line act like a saw-blade. Deep cuts on the unprotected wooden handle are the result.
A length of aluminum pipe, pressed over the rounded off handle, settled the problem.
A fixed line guide? No, thanks! None of the kite reels I’ve built so far has a line guide like a ring bolt or something comperable. Why? Because it would be impossible to use the full width of wide reels. Of course the downside of it is that the line has to be guided with the fingers, so you have to be careful - saw blade effect! But then again, by running the kite line through your fingers you will feel possible damages before it breaks and your kite disappears to “Nirwana”...

Centre knob
You can see the centre knob sitting at the large reel in picture #1; it is shown at pictures #2 and #3, too. Its only job is to keep the reels on the spindle. So the knob doesn’t need to be tightened too strong.
If the centre knob gets lost it can simply be replaced by a large washer and a wing nut. Even building a new one shouldn’t be too difficult, since only a small wooden disc and a so-called “4 Prong Tee Nut” are needed.

Spindle
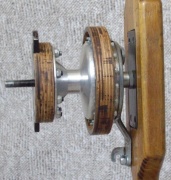
A major change is the use of a bicycle hub with a drumbrake as a spindle. In its first life the hub served the rear wheel of an old bicycle, that’s been stowed away in a dark shed for many years.

Spindle mount
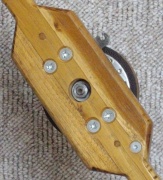
Unfortunately the axle was too short to fixate it at the frame by drilling a hole through the wooden middle section and securing it with a nut. Therefore a metal plate was bolted to the frame and the drill hole was widened. Now the axle could reach through the corresponding hole in the metal plate and the nut be applied inside the drill hole of the frame. (Of course there is a washer underneath the nut, too.) The additional bolted-on lever, the so-called reaction arm, prevents the non-rotating parts from being twisted when the drum brake is used.

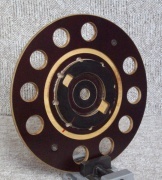
The dia.10mm centre thread is welded-on to the (black colored) flat steel, that in turn is bolted to the hub, along with the small wooden disc. When mounting a reel on the spindle, the flat steel rod needs to be lined up with counterparting deepenings inside the reel. This construction prevents the reel from twisting around at the spindle when the drum brake is applied.

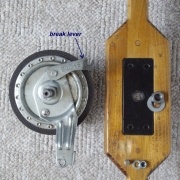
In picture #6 you can just see the hook-shaped tip of the brake lever. For clarification picture #7 shows the spindle separated from the frame. While kiting the break lever has to be pulled towards your body to apply the drum brake. Looking at the picture that means the hook-shaped tip needs to be pulled downwards.
When originally mounted at a bicycle a bowden cable is hooked to the lever to pull it. But in this very special case I could not find a satisfying solution so far.

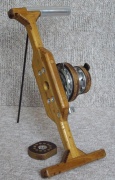
#2: frame front
2-handled frame pic1
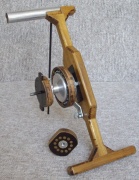
#3: frame back
2-handled frame pic2
#4: spindle
2-handled frame pic3
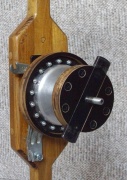
#5: spindle side view
2-handled frame pic4
#6: middle section
2-handled frame pic5
#7: separated
separated spindle & frame

Large reel
From the first moment I started working on this reel it was clear that it would be the main reel of the system. So it had to meet several conditions;
• comfortable size, to be easily carried along with all the other stuff
• rigidity, especially of the core
• high capacity, to hold at least 800m of 30kg test line
• good balancing for fast spinning without shaking or wobbling
• be servicable.

What is a comfortable size of a kite reel can be discussed for hours, if not for days. To me it means it should fit into a large sports bag, together with all the other equipment that a kite enthusiast carries around.

Using this reel as the main reel means that it is going to be used most. Usually I try to have at least three kites up in the air at the same time. If winds are good I try for more, sometimes I even make it up to ten kites. At least five of them provide about the same drag. When it comes to bring down the kites in a hurry the reel has to withstand the forces of several kite lines wound in under tension – a real hard quest for the core!

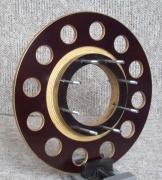
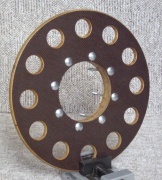
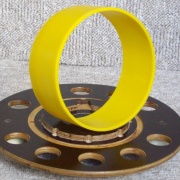
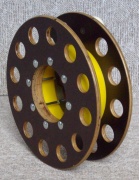
The tank of an old garden sprayer (handheld compression type, made from polyethylene plastic, definitely waterproof, even chemical resistant!) was cut to receive a nicely shaped ring (see picture #11). Circular deepenings at the inner sides of the disks provide support to the ring to prevent deformation due to tensioned kite lines.

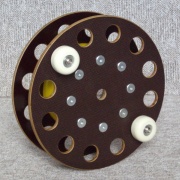
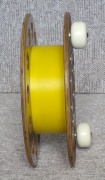
Easy to see that the knobs used here are skateboard wheels. (For the pro’s of you: No brand name, but ABEC 5’s; still an overkill for my needs.) These wheel-knobs add considerable weight to the reel, so they had to be placed as exact as possible.

Picture #1 shows the reel with five separate 100m-length’s of 30kg and 40kg kite line on it. The maximum capacity still is unknown. I believe it is somewhere between 1200m to 1500m.

#8: outer disk inner side
outer disk inner side
#9: inner disk inner side
inner disk inner side
#10: inner disk outer side
inner disk outer side
#11: core upright
core upright on outer disk
#12: large reel front view
large reel front
#13: large reel side view
large reel side view
#14: large reel back view
large reel back view

Bolts‘n’nuts
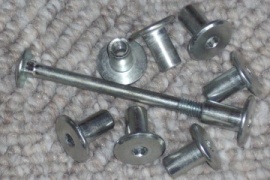
Zinc plated carriage bolts and flat head nuts are used to securely hold the two disks and the core together in one piece.
The carriage bolts usually are in stock at hardware stores. Next time I will propably use hex socket countersunk head bolts to receive a completely even surface.
A little more tricky it is to get a hand on these flat head nuts. But if you think of a worldwide well-known Swedish furniture retailer (Its name has four blue letters, though it’s not a blue four-letter word!) you’ll know where to find them.

#15: bolts & nuts
bolts and nuts used

Small reels
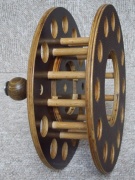
The design of the two small reels is comperable to the one of the single-reel system.
The most obvious change is the use of turning wooden knobs instead of the metal ground plates with welded-on rods. One more difference is the bigger diameter of the doweling (10mm instead of 8mm) glued in to form the core. The wide circular opening of the inner disk (the disk that faces the frame) and the structure inside the core are almost identical at all three reels of this new system.

#16: small reel
small reel

Building Materials

Materials used here are the same as for the earlier built single-reel system, except where otherwise stated.


Conclusion

As you will have realized, this new kite reel system indeed does have a drum brake. But the brake lever is difficult to reach and very uncomfortable to use. Unfortunately the given lever can not be easily removed without damage. Up to now this part of the construction is incomplete. Until today I could not make up my mind on how to build and where to position a good functioning lever mechanism...
Nevertheless, I’m using the reel system everytime I’m out there flying my kites.

Thank you!
A big Thank you! goes to Charles for hosting my stuff on his homepage. As a matter of fact; if he had not presented his kite reel survey I propably wouldn’t show my reels anywhere at all...


Electronic Mail
If you have any suggestions or comments concerning the above just eMail me. Punch in the address shown to the right. Be assured that serious mails will be answered. Nonsense mails simply will be deleted without notice!

mail to [KMS]
©[kms] 2008-08-15