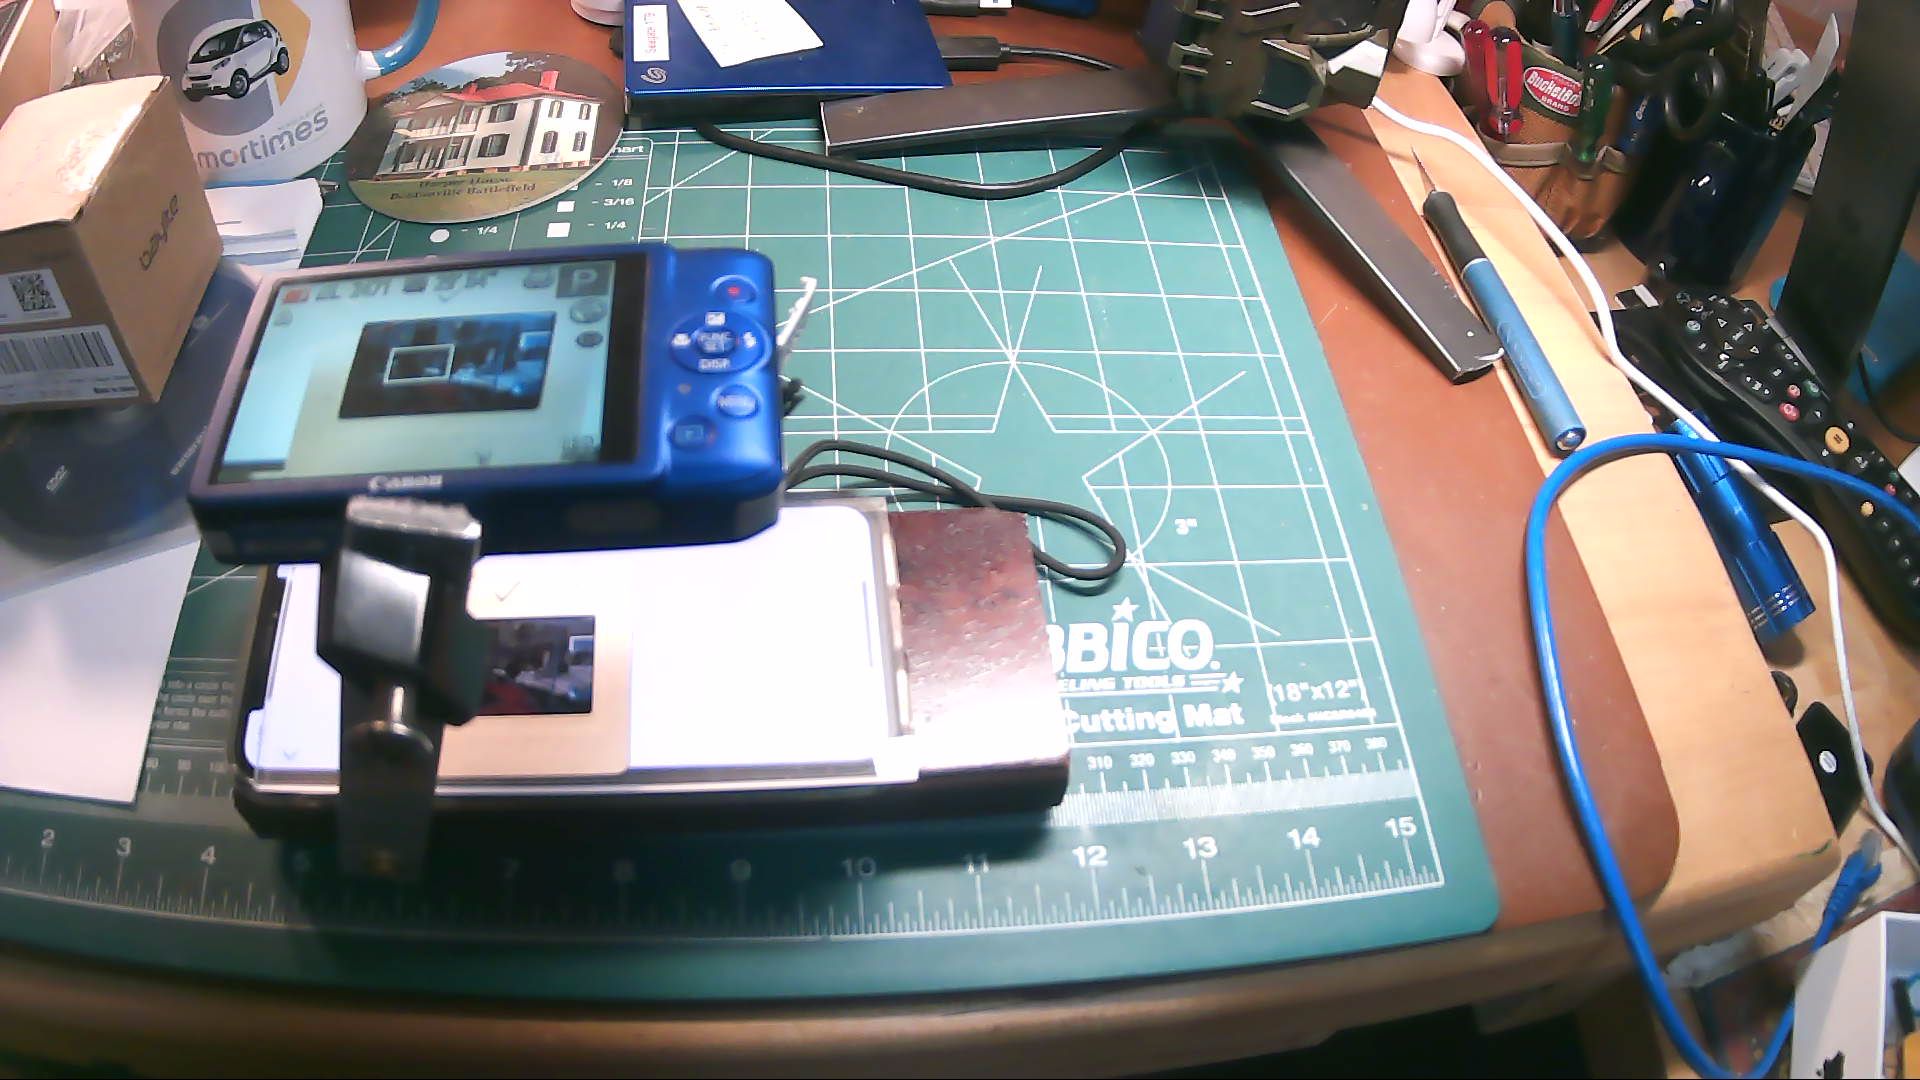
 My tool for
getting good, fast images of
35mm slides with a digital camera and a $25 slide viewer. |
| Technique | Description | Cost |
| 1. Professional service | Your local camera shop can scan in your slides for you | $10-25 per slide |
| 2. Slide scanner | You can buy your own dedicated slide scanner | $300-1200 |
| 3. Use your own flatbed scanner | There are several techniques to do this (see below) | none |
| 4. Use a digital camera | Use a slide previewer to illuminate the slide and snap a photo | <$25 |
| 5. Use a digital camera | Project your slides onto a screen and snap a photo | Projector & screen |
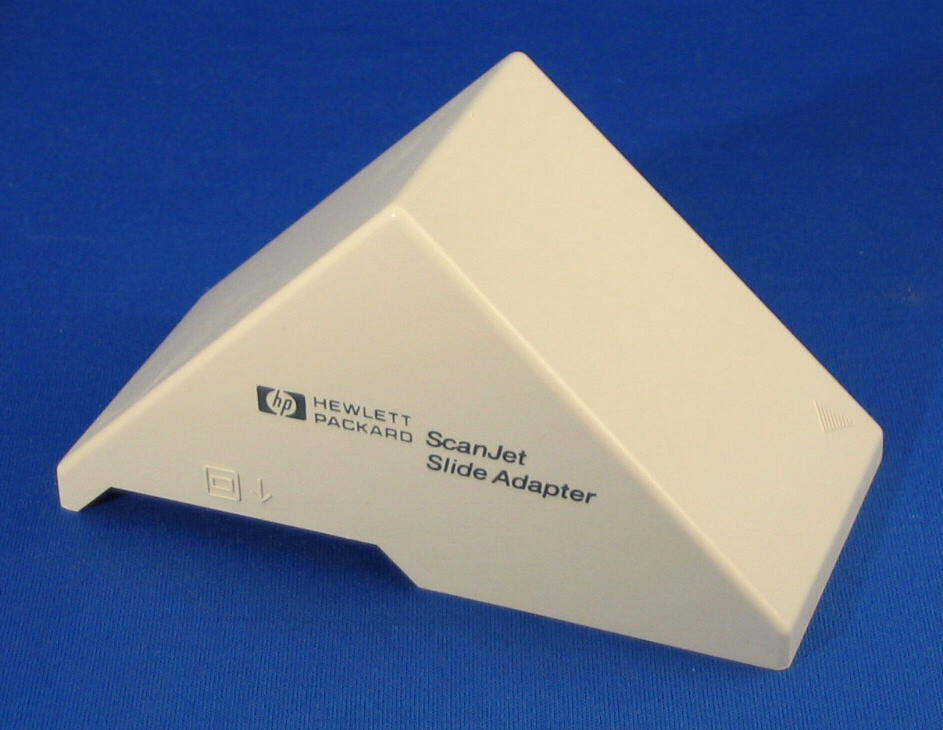
| Mirrors | Two mirrors at special angles reflect the scanning light back through the slide | http://www.sci.fi/~animato/scanning/scanning2.html |
| Paper | A triangle of white paper can bounce enough illumination back to light the slide. | http://www.abstractconcreteworks.com/essays/scanning/Backlighter.html |
| Lamplight | A handheld fluorescent light is placed on top of the slide. | http://www.afn.org/~afn11300/slides.html |

The "Paper" gadget is
shaped just like the HP mirror device but is
simply folded of stiff white paper. I had tremendous success using this
scheme on on old large size black & white transparencies. You
can make the paper triangle any size you need. I had less luck with
modern, small format color slides.
The "Lamplight" idea sounds promising, and my old Microtek scanner even
included a light with it. But in my experience the results are very
poor. If you buy your own fluorescent, try and get one that has natural
colors. A typical cold white fluorescent will make your
slides look blue (more on this below). But you can try and correct in
PhotoShop or something
if you have to. Some old slide printing technologies turn blue all by
themselves.


Use Your Own Camera
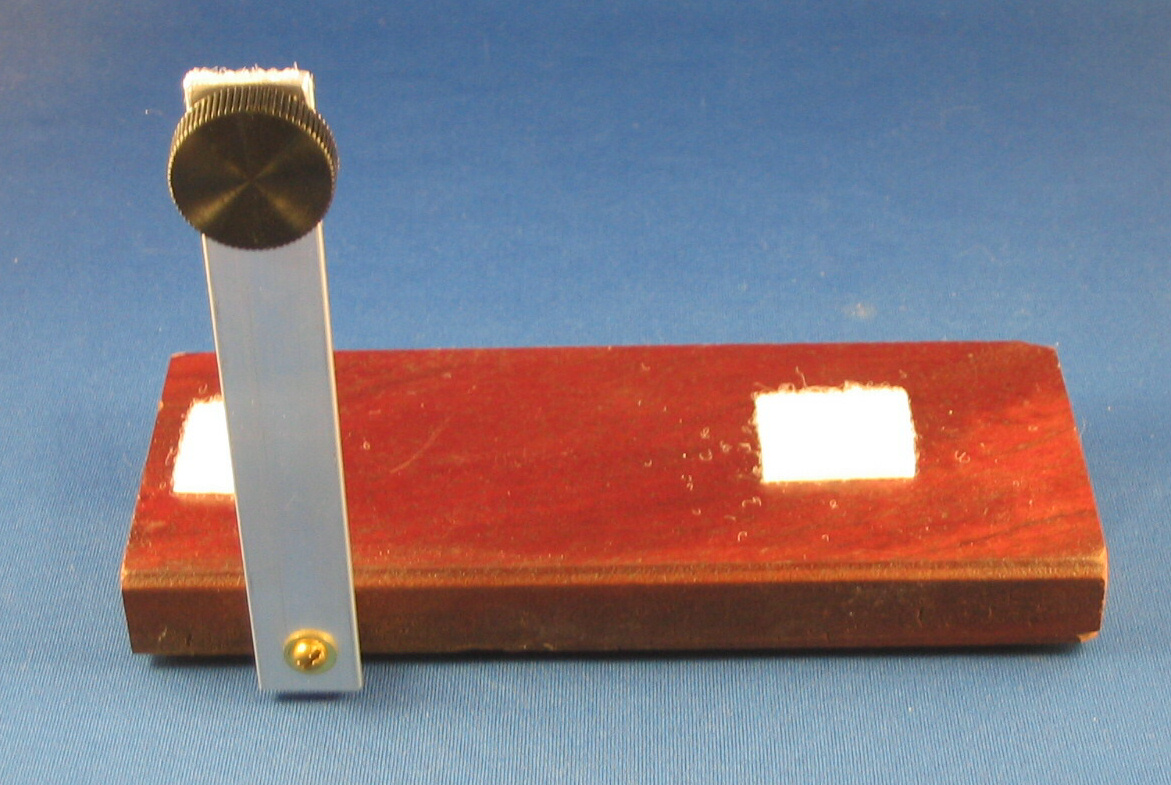
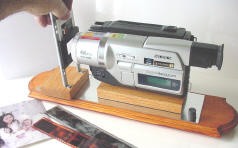
I was partly inspired to try this approach by the old Shotcopy device for using a video camera to capture slides, and by an even older film camera duplicating device. It consisted of a tube that attached to the camera body at one end and had a little slide holder at the other. The user would adjust his camera focus accordingly, point the camera at a nice light source, and snap a photo.
 |
|
| The
Shotcopy is a wooden stand for your slide and video camera. |
When
attached to your film camera, this can be used to copy a slide.
|
Why not use this approach
with a modern digital still camera? At first glance this might not seem
like such a great idea. Won't your scanner give better resolution? Well
a little analysis will show that even an older 3 Megapixel camera is in
the same ballpark as the scanner, and a newer camera can do better.
Here are the numbers:
| Flatbed scanner | 35mm x 23mm slide at 1200 dpi | 1644x1080 pixels |
| 3 Megapixel camera | Camera in Macro mode, 2400 x 1800 image setting | Cropped to 1395 x 927 pixels |
The wild card in what your camera can do is how close your macro setting will focus. Part of my 2400x1800 photo is just the cardboard slide frame and gets cropped. But I have found even these cropped images are suitable for use as a screen saver or printing out as a 4"x6" print. In addition, this technique is very fast, and you really process a lot of slides in a hurry.
[ NOTE: A variation on this scheme, using a screen and projector instead of a slide viewer was suggested by Jack Clark. See Jack's email to me here. ]
There are two tricks to using your digital camera in this manner. First, you must have a nice lighting source. I have found that camera stores carry a variety of small slide previewers. My first one used a bright white fluorescent bulb. At the time I didn't realize that this gave my slides a blue tint. I thought the film had just deteriorated. For my second light I shopped more carefully and found one whose lamp is adjusted to give natural colors. Either of these gadgets cost less than $25.
 |
 |
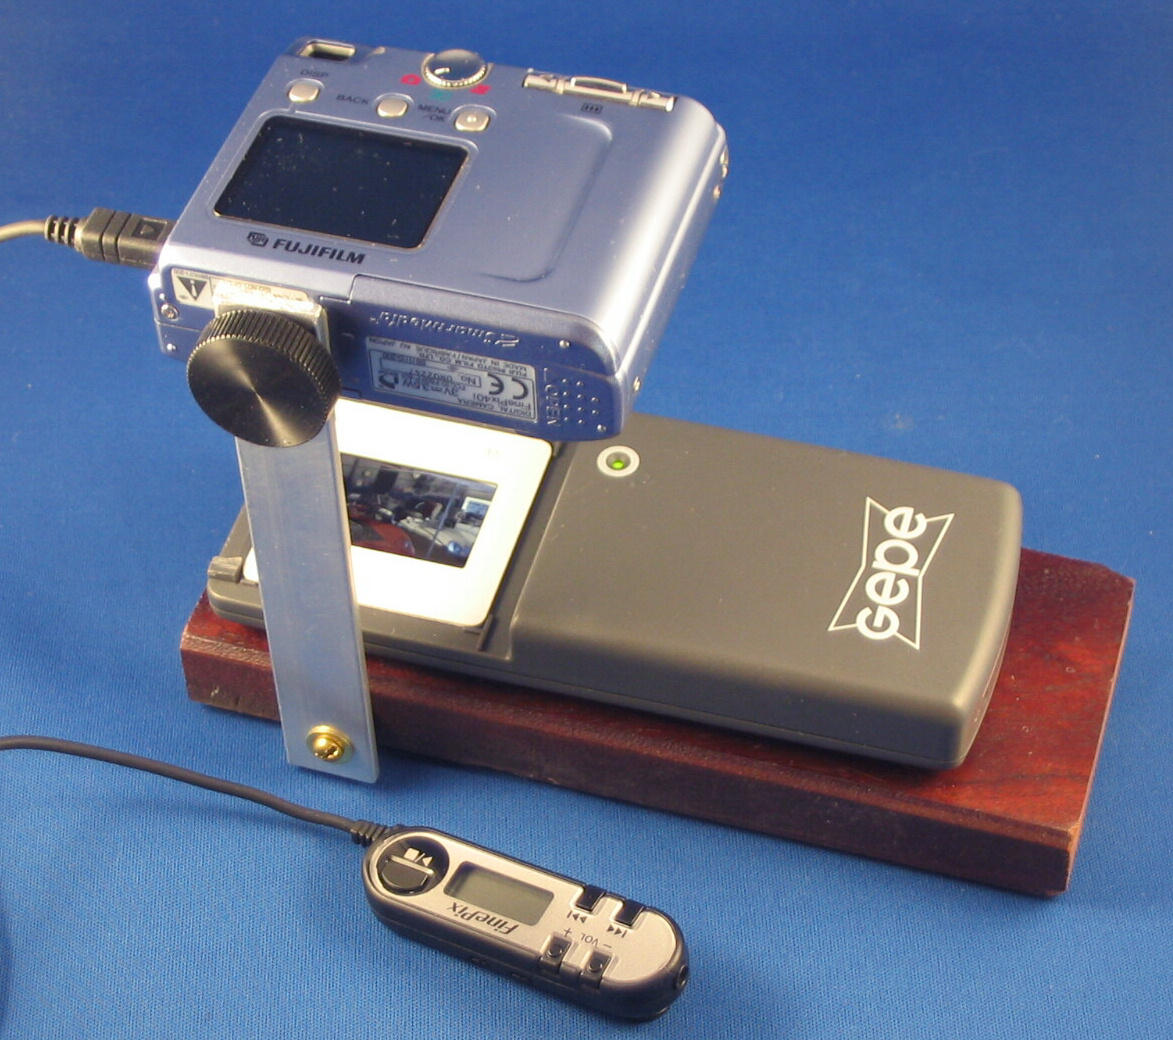
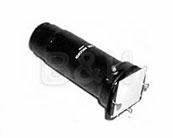
| Small
battery-powered slide viewer. Plain white fluorescent light |
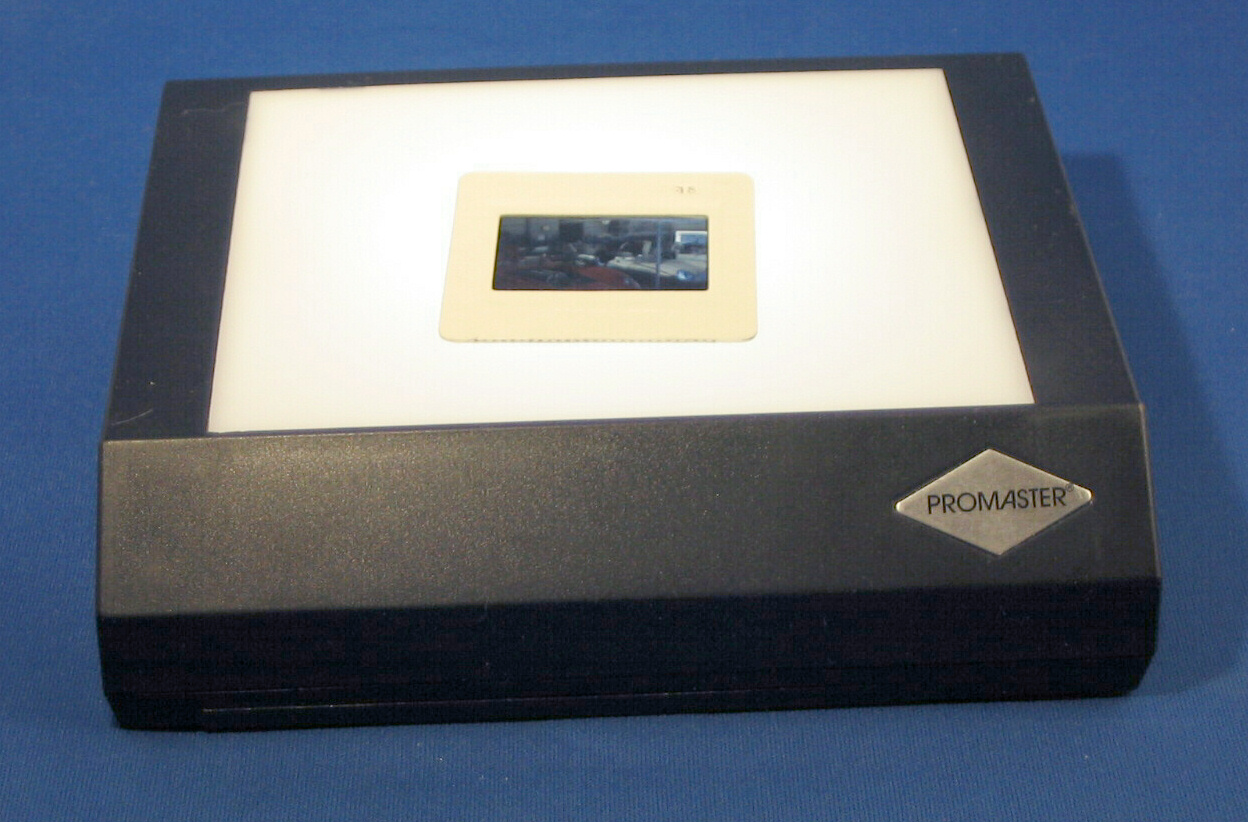
Gepe
G-5002 Slide Viewer uses a
cold cathode lamp (5000K) to give correct color |
 |
 |
 |
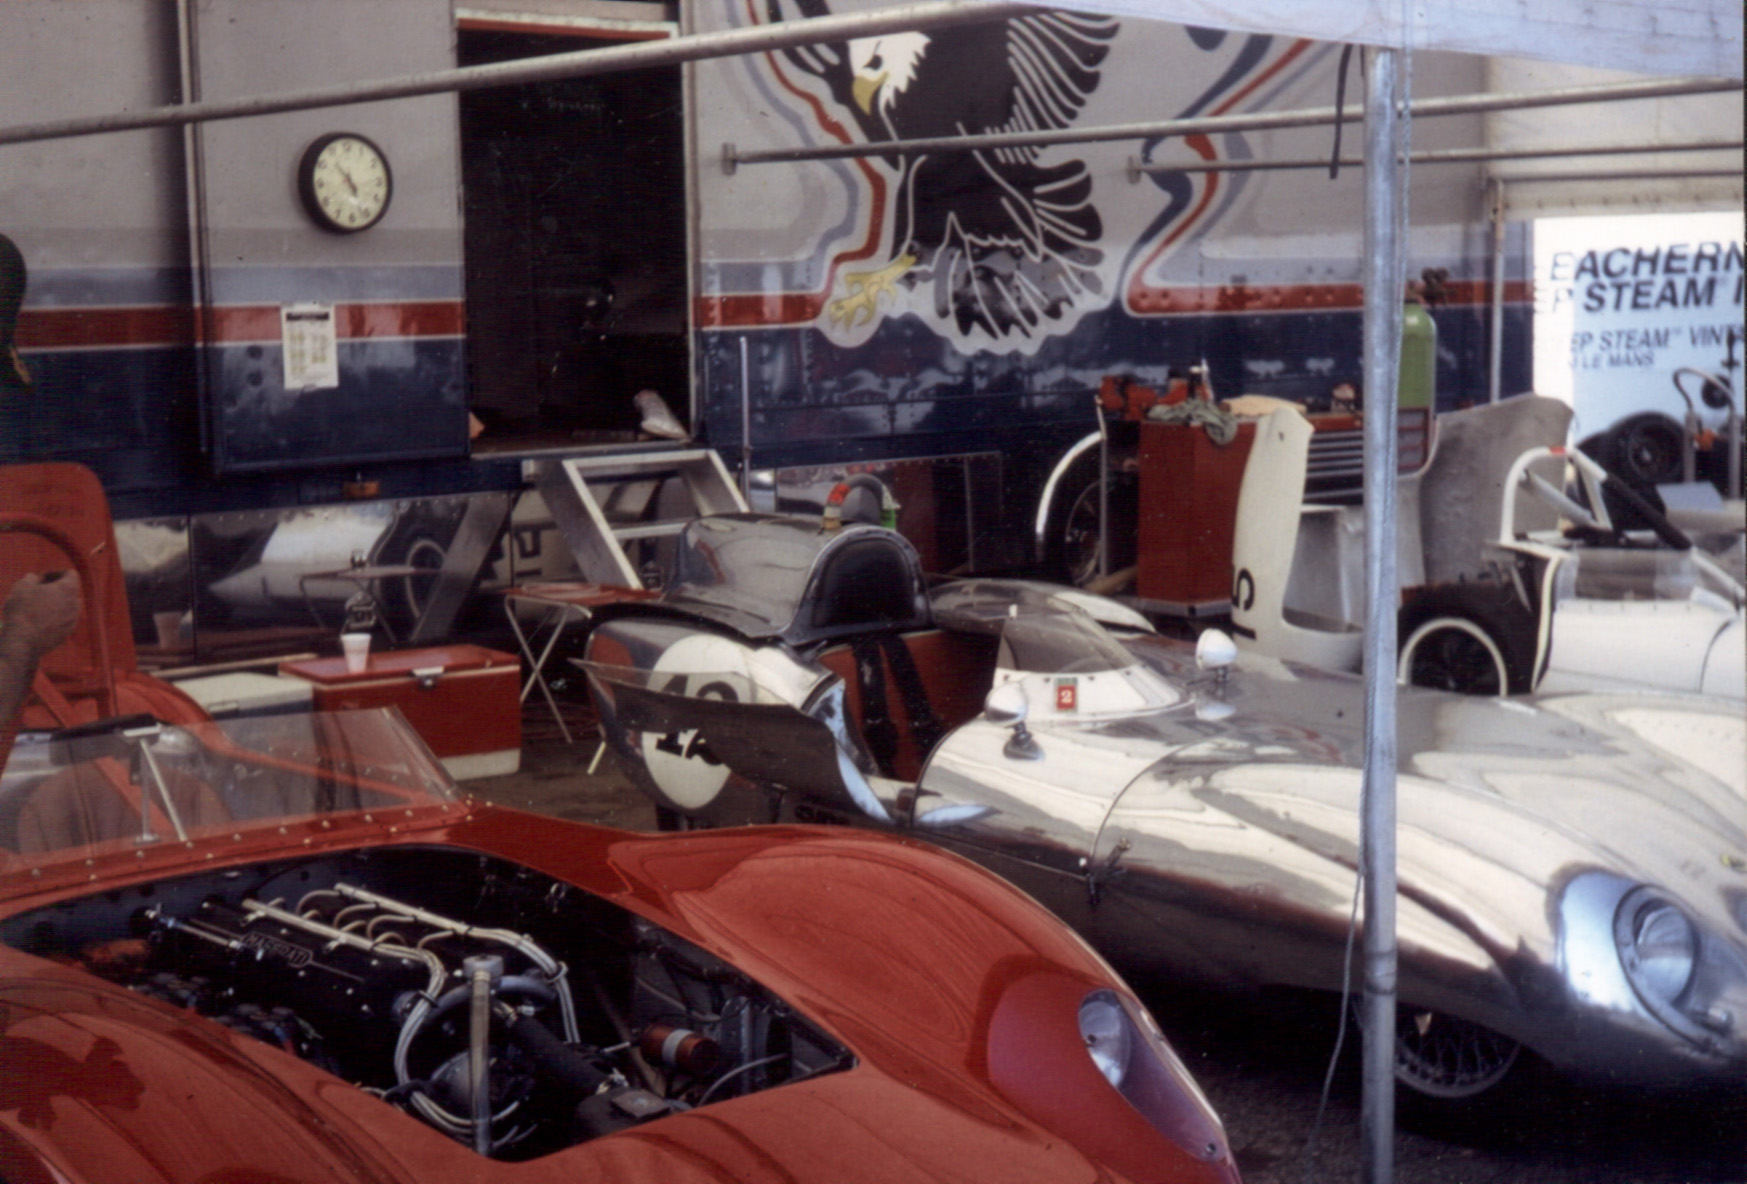
| 4"x6" Kodak print scanned at 300 DPI on a flatbed scanner. (Click to enlarge) |
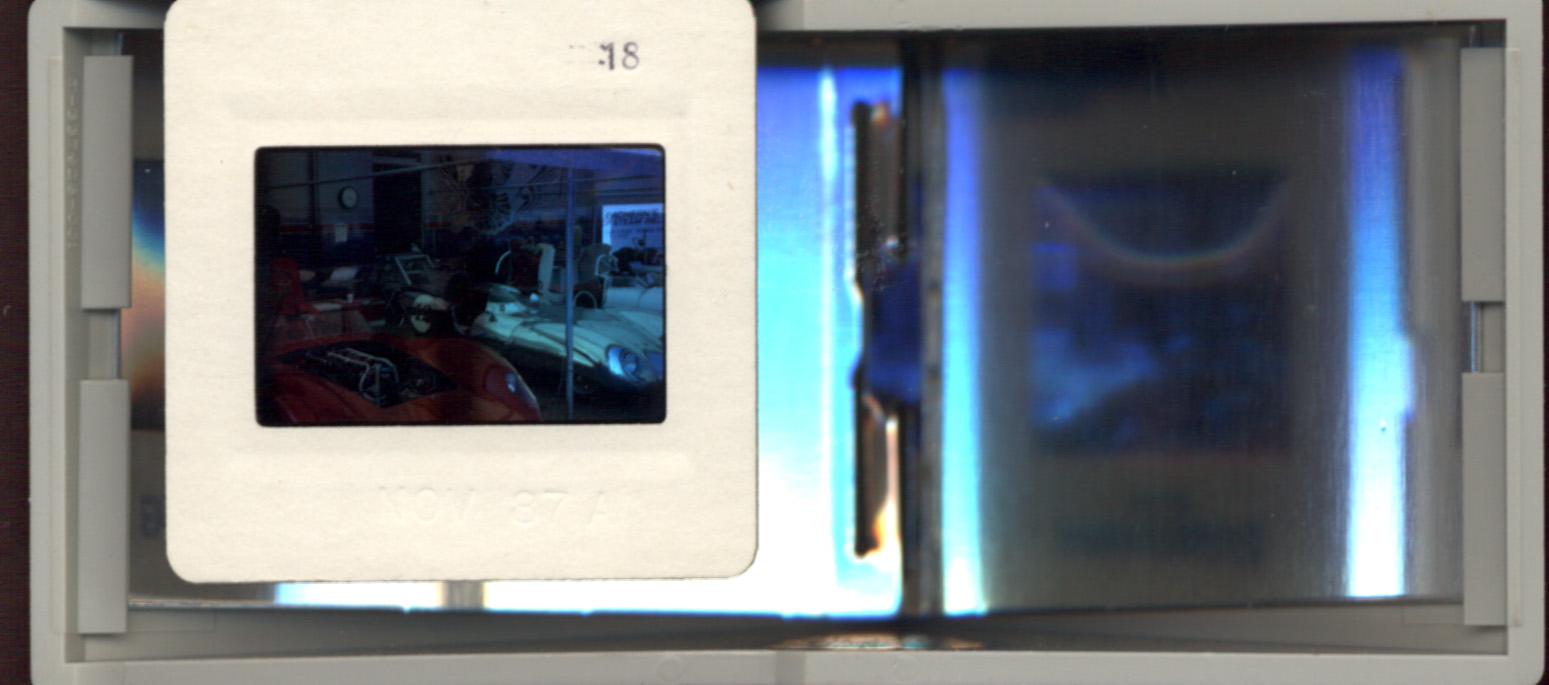
Picture snapped with Fujifilm 1.3 megapixel camera. (Click to enlarge) |
This time with a Canon Powershot A70. (Click to enlarge) |
I repeated the
experiment with a newer Canon Powershot A70 four megapixel camera, but
although the colors are brighter, the actual image size
turned out to be the same.
I'm sure newer 5 and 8 megapixel cameras can do better.
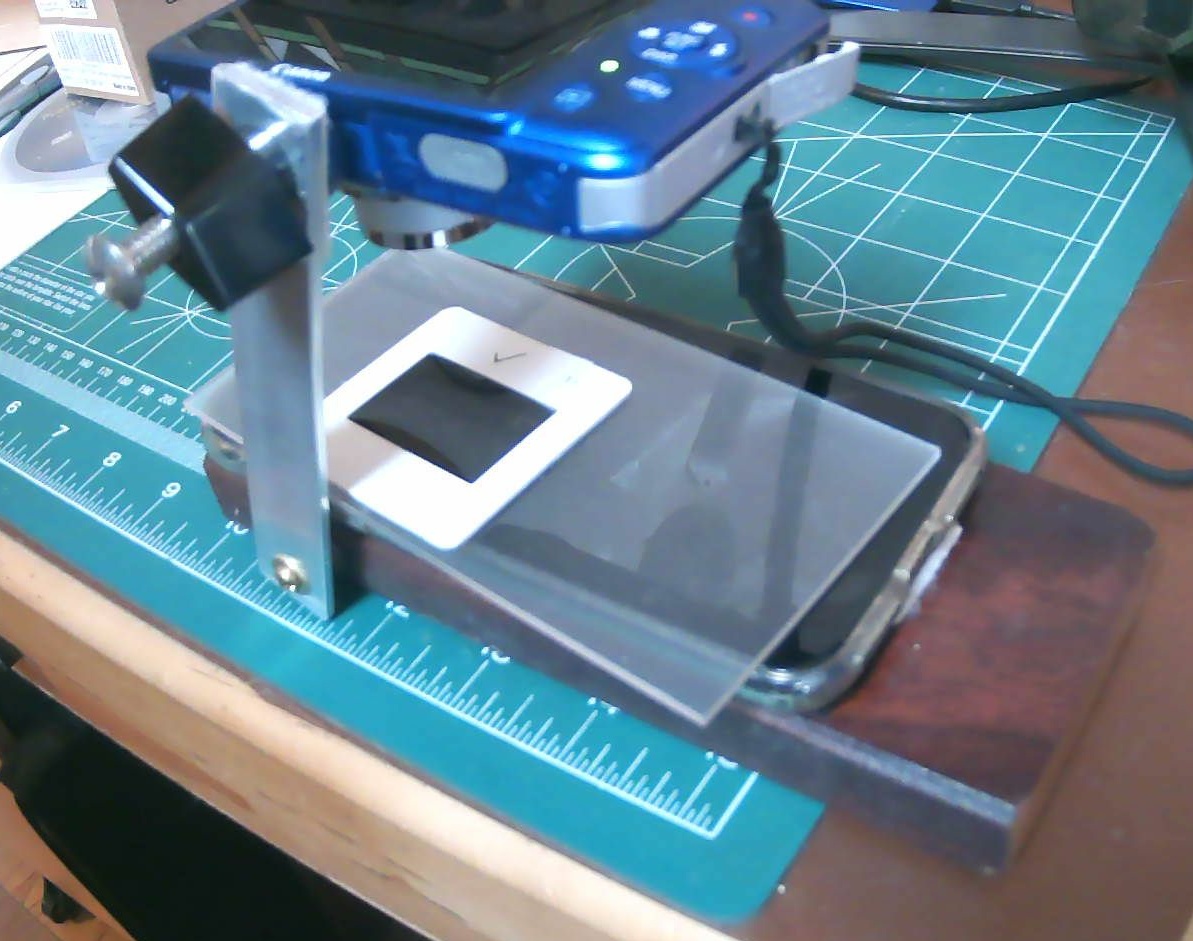
I added a mylar drawing film mask to scatter the pixel light from the phone backlight and set the adapter with felt pads 1/16" off surface.
This seemed like a novel idea but I had a little trouble checking it out and set it aside. Fast forward to retirement and this idea still haunted me, so I did a little fresh testing and it seems like a winner.
First, download a suitable app to turn the iphone screen a solid color. (Before the super bright LED's it was common for such apps to be called a "flashlight".) The one I wound up using is called "Color Savvy". You will also quickly discover you want to tweak the Settings to keep your iPhone from turning off after a few seconds.
|
My initial test without the "mylar drawing film mask". Click on the photo
to enlarge it and you can see the pixels of the phone display showing through. |
|
 |
 |
|
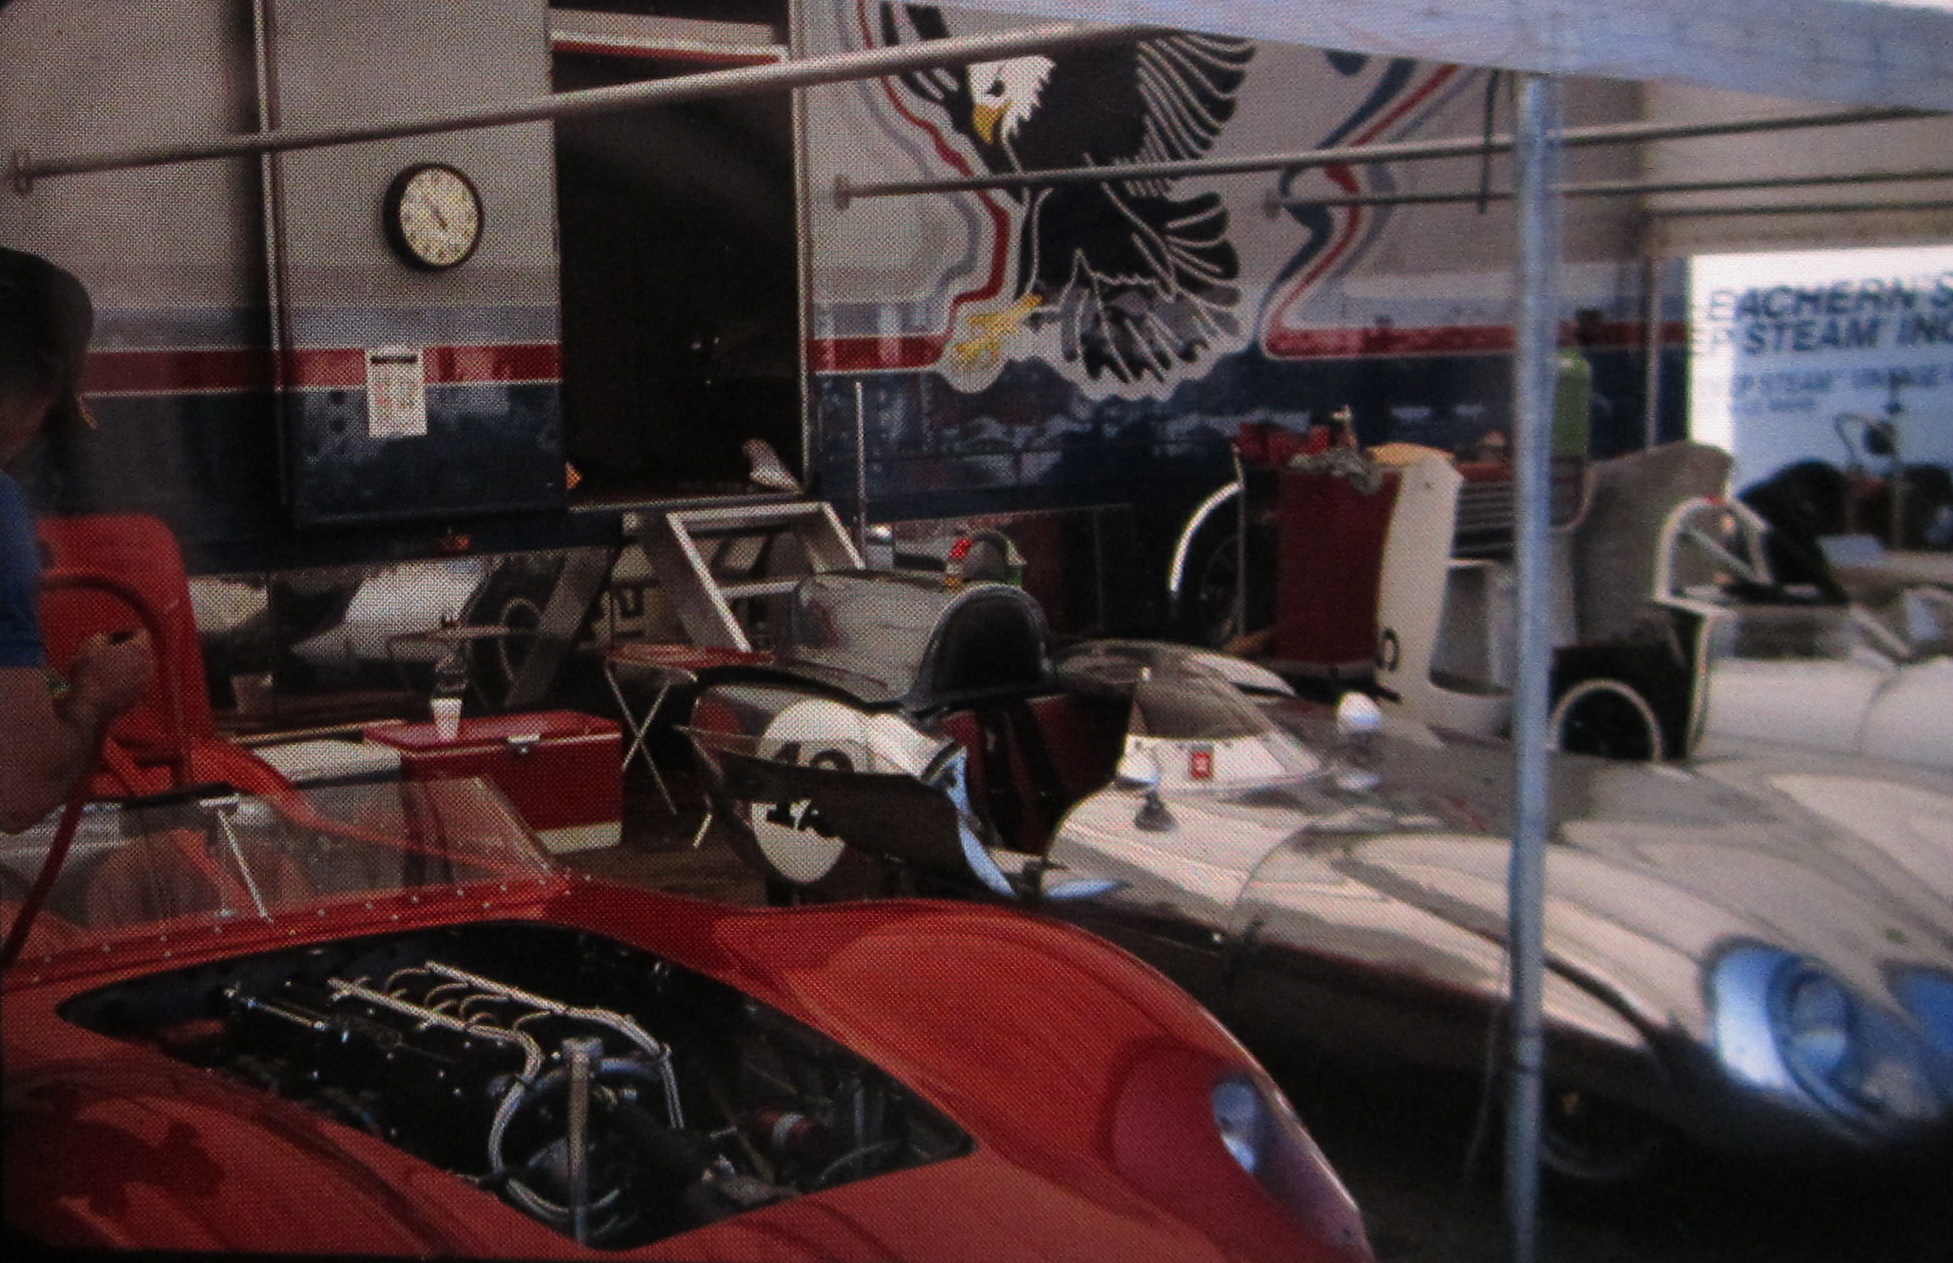
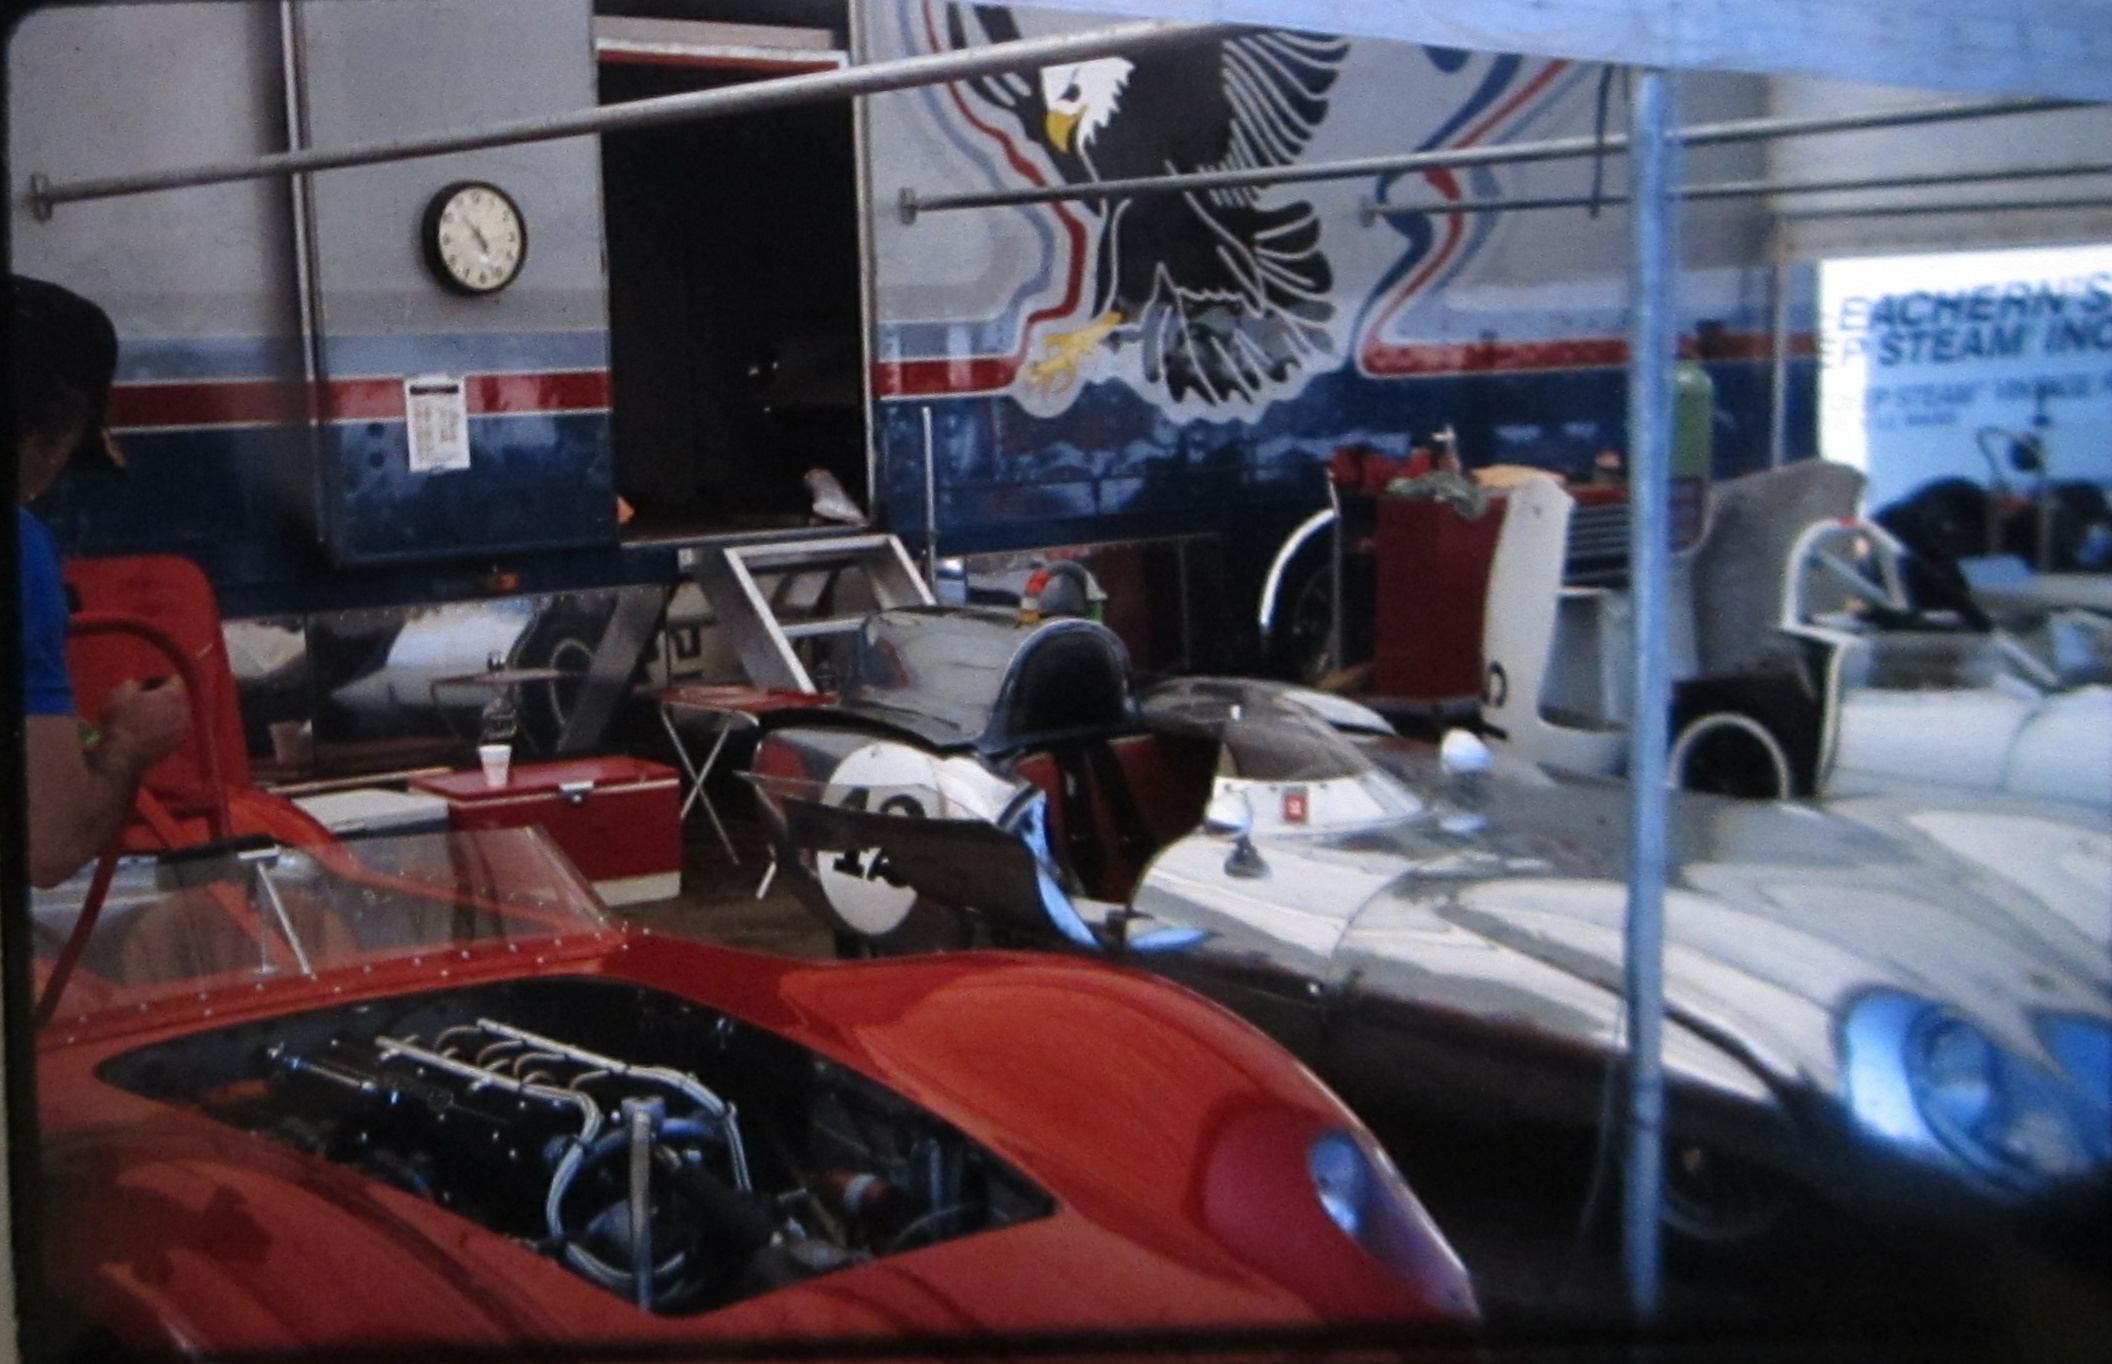
I ordered some frosted plexiglass from eBay and used it between the slide and the phone.
When you click on this photo it looks pretty darn good. |
|
 |
 |
Make your own lightbox
This instructable, DIY Cardboard Film Scanner, turns Phil's idea on it's head, using the iphone as a camera and making your own light source.
In 2023 both of these approaches make a lot of sense!