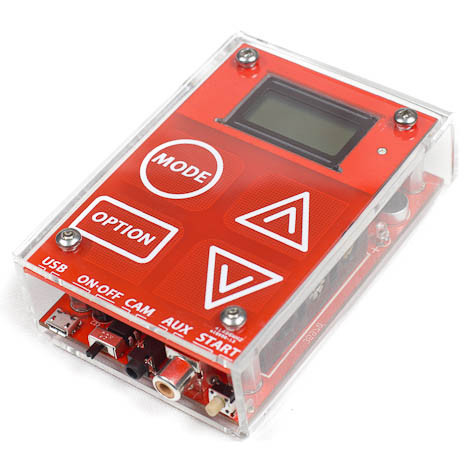
Triggertrap v1
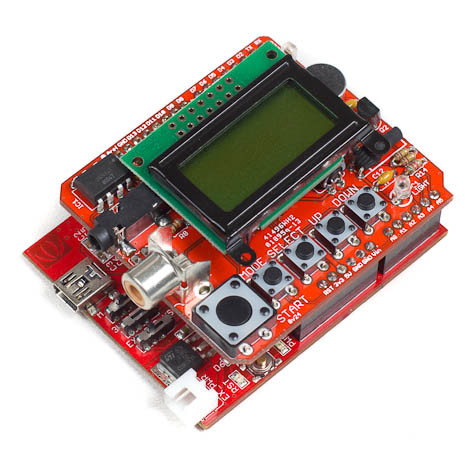
Arduino shield
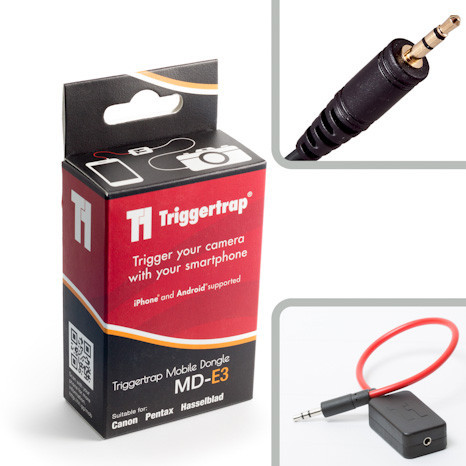
Mobile dongle
The Triggertrap is a device used to trigger cameras based on sound, light, time, laser, etc. All you need is a camera with a remote shutter cable (or a Canon Powershot with adapter, see below). Currently the TriggerTrap is offered in three formats:

Triggertrap v1 |

Arduino shield |

Mobile dongle |
The stand-alone and Arduino shield versions have identical capabilities. The mobile version adds several other novel triggering schemes but lacks several that are present in the standalone model.
The standalone and Arduino shield version support the following triggering methods:
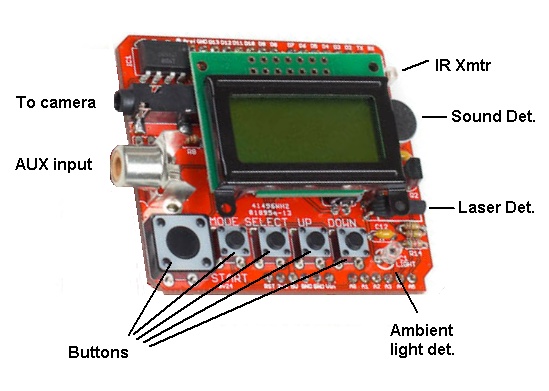
Function-wise, the shield seems to do everything the full-blown unit does, with perhaps the exception of an LED indicating that the camera has been triggered. I was able to remedy this by tacking on an LED (w/resistor) across D8 and pin 1 of IC1.
Assembly instructions are on the web.
While the assembly is pretty straightfoward, you do probably need a decent temperature controlled soldering
station for all these tiny components.
You can signal to your camera with a cable (you buy or build to match your camera) or use the on-board IR Transmitter (not sure which cameras this works with). All options have threshold and delay settings.
If you have never played with the Arduino before, set aside a couple of hours to install the programming software on your PC and play with some sample "sketches" (programs). This whole process is thoroughly documented on the web and should not pose a problem if you give yourself a little time to get into it. Once "programmed" the Arduino can be disconnected from the PC and run by itself. All you will need is a 7-12 VDC power supply or it can draw 5V from a USB cable.
The Arduino and shield seem pretty naked sitting there and the only way to protect it that I could come up with was to put the whole thing in a case (Jameco #141832) and extend the connectors off the shield itself so you still reach the buttons. The display and IR transmitter show through the clear case, although I added longer leads to the IR transmitter and twisted it to face outward. The sound and ambient light sensors work fine inside the case. I added external jacks for the AUX input and laser sensor.
Power is provided by a USB source or an external power jack (standard Arduino connections). The external power source should be between 7 and 12 volts DC. I added a battery pack in mine (not present in photo).
Laser trigger from instructables.com
The Instructables article was fascinating and the electronic circuit he designed doesn't look too hard to build. However I did fail to notice the age of the article, January 2009, and that it relies on the CHDK Canon Hacker toolkit which is only for the Canon PowerShot camera line. Nevertheless I was able to get it working. I had to find an alternate laser sensor since his was no longer available. I used Jameco #1621132 Photodiode PIN Chip 850nm. I tried another component first, but you have to match the frequency response to your laser pointer (indicated on the laser itself).
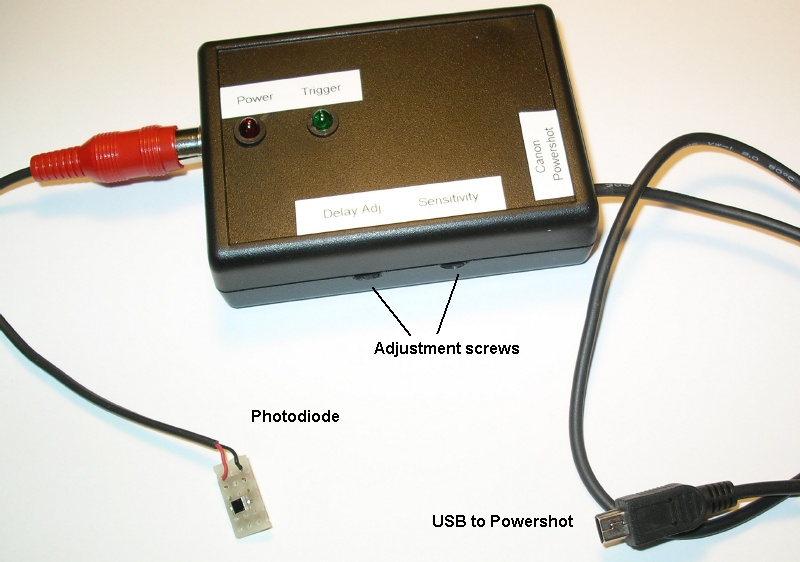

After much travail in debugging my careless wiring, the gadget worked at advertised. In practice, two things caused problems. First, the 15-turn potentiomenters for Delay and Sensitivity offer no visual clue to their position. Short of disassembling the device and putting an ohmeter across the contacts there's no way to know where in their 15-turn range you are. Second, trying to make the little PowerShot actually fire quickly required a bit more knowledge of CHDK and Powershot technique than I could manage, so I never got the shot I was trying for.
HSF laser trigger
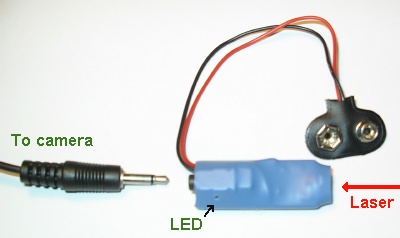 At that point I ordered the
HSF Laser Trigger off eBay. It cost about $25 and ships direct from Greece. It is one
of a family of single function gadgets that trigger cameras based on sound, laser, etc. The $25 model
does not offer any threshold or delay adjustments. It does have an LED to indicate when it is triggering,
visible through a hole in the heat shrink wrapper. If I hadn't found the TriggerTrap shield I would
probably have purchased some higher end models that Georgios offers.
I had somewhat better luck with the HSF Trigger because it worked with my Canon DSLR, which I understand
better than the PowerShot. I got a few interesting shots of water droplets, but it was pretty much
hit and miss. I longed for the adjustable delay of the TriggerTrap.
I swung a plumb bob through the laser beam to hit these stacked blocks:
Here I had a water drip break a laser beam:
I tried to adjust the delay by raising and lowering the laser. It was pretty tedious to find a height that gave me any kind of a picture.
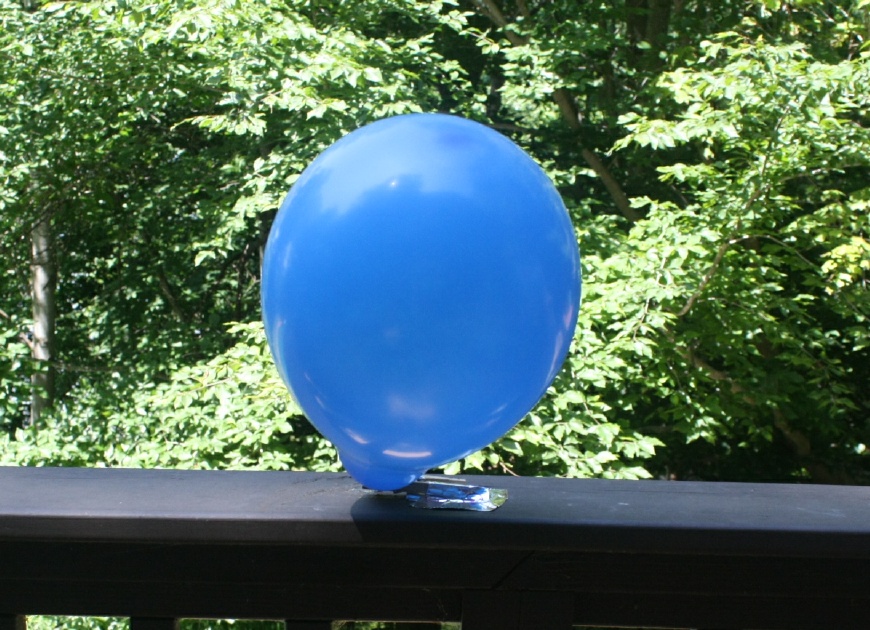 About to be popped. |
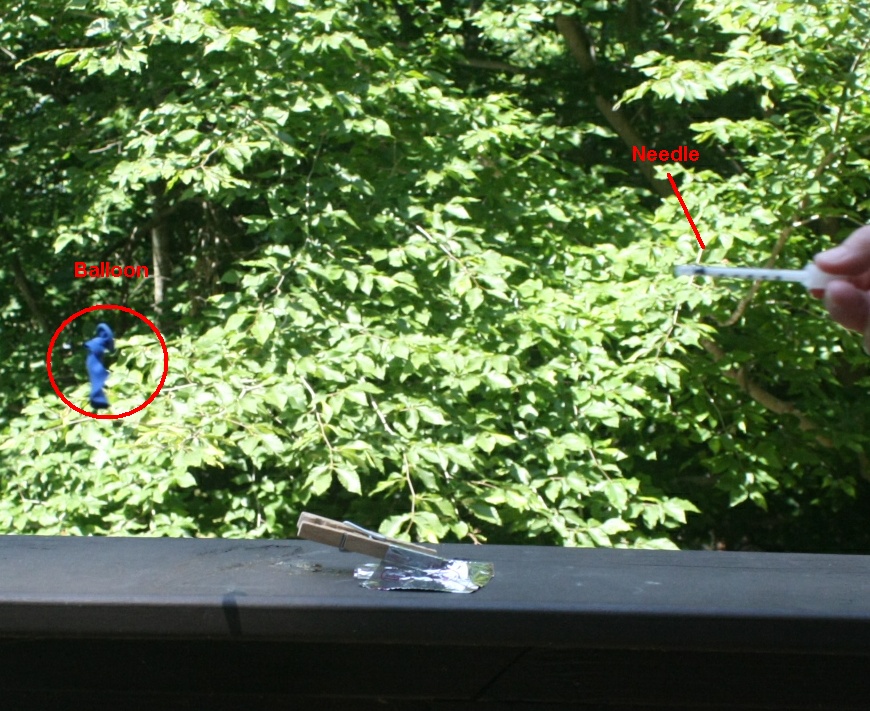 Popped! |
|
|
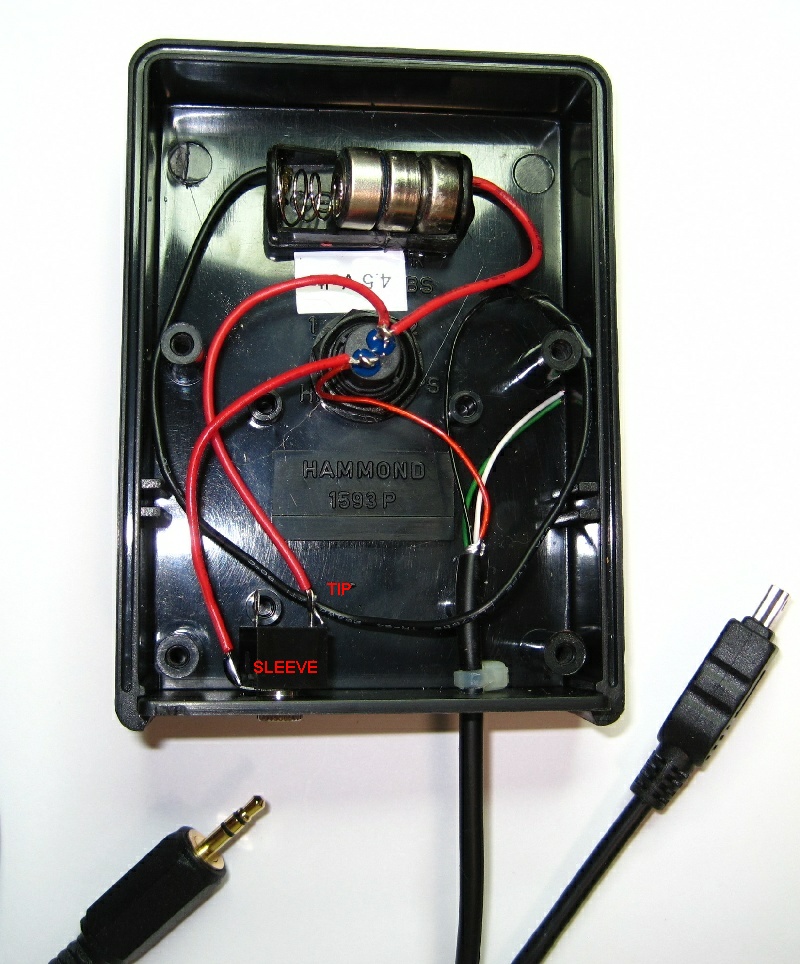
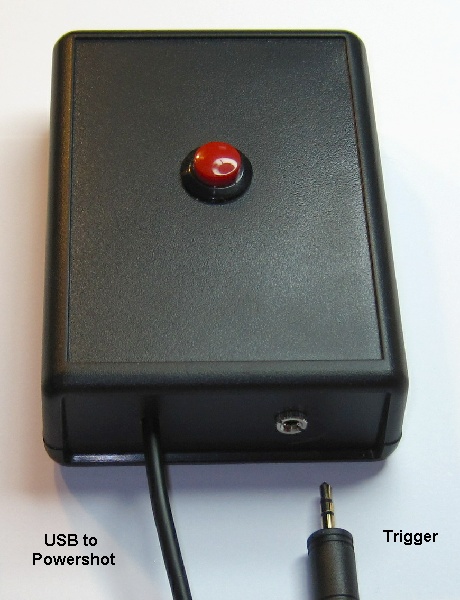
I assembled one of these remotes, just as described in the Instructable. I used the same size remote jack as the Canon DSLR uses, 2.5mm (3/32") stereo. Radio Shack carries both jack (#274-245) and plug (#274-244). As in the Instructable, I need 4.5 volts to fire the shutter.
| NOTE: The Triggertrap trigger port has two states: 1) no connection and 2) current passes one way. So it's not as simple as a pushbutton. If you find that your pushbutton works but the Triggertrap cannot trigger the camera, try reversing the two leads on the 3/32" jack. |
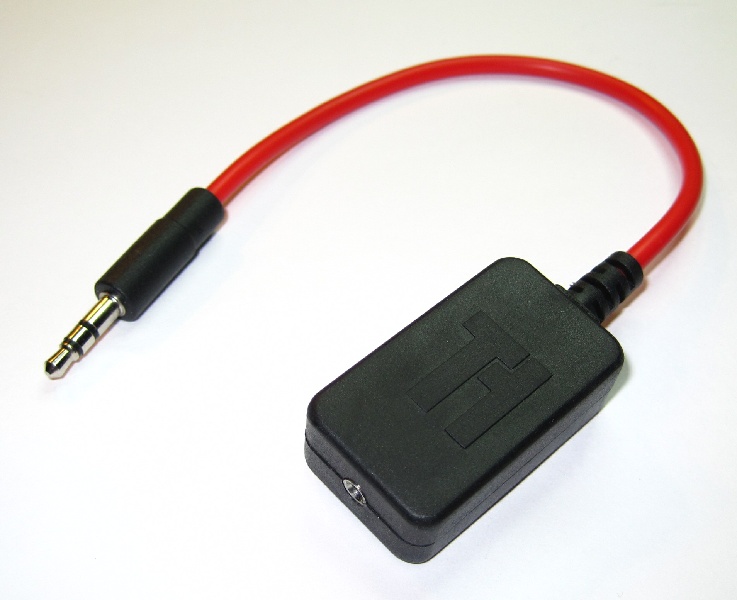 The Mobile dongle measures a diminutive 1½"x¾"x½". It is sealed and has no battery. It comes with
a little coiled cord to match your camera. Mine cost $29.
I was disappointed to find that neither my older iPod nor my old Motorola Xoom (Android) could run the app. (You can't even download it.) It worked fine on an older iPad w/o camera, and on my wife's newer iPhone and iPad.
It's too bad the app can't signal a trigger event with a shutter sound, but of course the dongle
occupies the headphone output! The only indication you get of a trigger event is a slight
visual flash on one of the app's buttons.